
Unlocking the Power of RSA Authentication: A Detailed Guide to Android USB Debugging and Command Prompt
Are you looking to enhance the security of your Android device? Do you want to learn how to enable USB debugging and use the command prompt effectively? If so, you’ve come to the right place. In this comprehensive guide, I’ll walk you through the process of setting up RSA authentication, enabling USB debugging, and using the command prompt to manage your Android device. Let’s dive in!
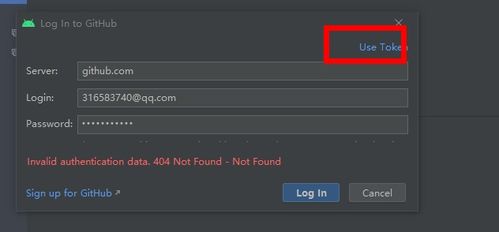
Understanding RSA Authentication

RSA (Rivest-Shamir-Adleman) is a widely-used public-key cryptosystem that provides secure communication over an insecure channel. It’s the foundation for many security protocols, including SSL/TLS, which is used to secure web traffic. By implementing RSA authentication on your Android device, you can ensure that your data remains protected from unauthorized access.
Here’s a brief overview of how RSA authentication works:
-
Public Key: This key is used to encrypt data before sending it over an insecure channel. It can be freely shared with anyone.
-
Private Key: This key is used to decrypt the encrypted data. It must be kept secret and should only be accessible to the intended recipient.
Enabling USB Debugging on Your Android Device
USB debugging is a feature that allows you to connect your Android device to a computer and transfer data between the two. It’s essential for developers, but it can also be useful for users who want to perform certain tasks, such as backing up their device or installing custom ROMs.
Here’s how to enable USB debugging on your Android device:
-
Go to your device’s Settings.
-
Scroll down and tap on “About phone” or “About device” (the exact name may vary depending on your device manufacturer).
-
Tap on “Build number” several times until you see a message saying “You are now a developer!”
-
Go back to the main Settings menu and tap on “Developer options” (if it’s not visible, you may need to scroll down to find it).
-
Toggle the “USB debugging” switch to the ON position.
Using the Command Prompt to Manage Your Android Device
The command prompt is a powerful tool that allows you to perform various tasks on your Android device from your computer. To use the command prompt, you’ll need to install an ADB (Android Debug Bridge) client on your computer.
Here’s how to use the command prompt to manage your Android device:
-
Download and install the ADB client from the official Android Developers website.
-
Connect your Android device to your computer using a USB cable.
-
Open the command prompt on your computer.
-
Enter the following command to check if your device is connected:
adb devicesThis command will list your connected devices. If your device is listed, you can proceed with the following commands:
-
adb shell: This command allows you to execute shell commands on your Android device. -
adb install [path_to_apk]: This command allows you to install an APK file on your Android device. -
adb backup: This command allows you to back up your Android device’s data to your computer.
Table: Common ADB Commands
| Command | Description |
|---|---|
| adb shell | Execute shell commands on your Android device |
| adb install [path_to_apk] | Install an APK file on your Android device |
| adb backup | Back up your Android device’s data to your computer |
| adb reboot |


