
Obs Studio OKB S: A Comprehensive Guide
Are you looking to elevate your streaming experience with a powerful and versatile tool? Look no further than the Obs Studio OKB S. This software has gained popularity among streamers and content creators for its robust features and user-friendly interface. In this detailed guide, we will explore the various aspects of Obs Studio OKB S, including its features, setup process, and tips for maximizing its potential.
Key Features of Obs Studio OKB S

Obs Studio OKB S is packed with features that make it a standout choice for streamers and content creators. Here are some of its key features:
- High-Quality Streaming: With support for 4K streaming, Obs Studio OKB S ensures that your content looks and feels professional.
- Customizable Sources: You can easily add various sources to your stream, such as images, videos, audio, and more.
- Scene Management: Organize your content with ease using scenes, which allow you to switch between different sources and layouts.
- Filters and Effects: Enhance your stream with filters, transitions, and other effects to make it more engaging.
- Audio Mixing: Control your audio with precision using the built-in audio mixer, which includes features like equalization, compression, and more.
- Hotkeys: Streamline your workflow with customizable hotkeys, allowing you to perform actions quickly and efficiently.
These features make Obs Studio OKB S a versatile tool that can cater to the needs of both beginners and experienced streamers.
Setting Up Obs Studio OKB S
Setting up Obs Studio OKB S is a straightforward process. Here’s a step-by-step guide to help you get started:
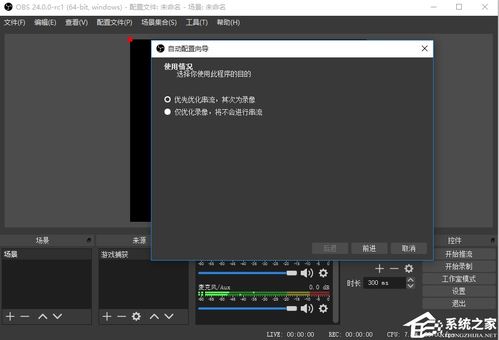
- Download and Install: Visit the official Obs Studio website and download the latest version of the software. Follow the installation instructions to install the software on your computer.
- Configure Streaming Platform: Open Obs Studio OKB S and go to the ‘Settings’ menu. Under the ‘Stream’ tab, select your streaming platform and enter your stream key.
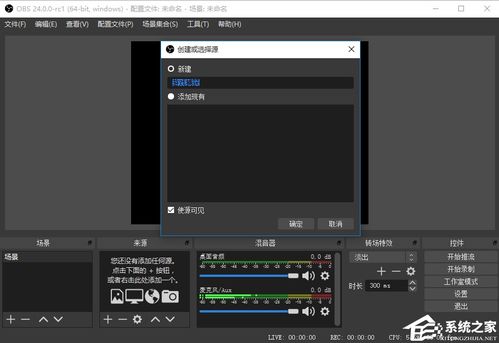
- Set Up Sources: In the ‘Sources’ panel, you can add various sources to your stream. To add a source, click on the ‘+’ button and select the type of source you want to add (e.g., image, video, audio, etc.).
- Configure Scene Layout: In the ‘Scenes’ panel, you can create and manage different scenes. To create a new scene, click on the ‘+’ button and drag and drop your sources into the scene.
- Customize Settings: Go to the ‘Settings’ menu to customize various aspects of your stream, such as video settings, audio settings, and more.
- Start Streaming: Once you’re done setting up, click on the ‘Start Streaming’ button to begin your stream.
Remember to test your stream before going live to ensure everything is working correctly.
Maximizing Your Streaming Experience with Obs Studio OKB S
Now that you have Obs Studio OKB S set up, here are some tips to help you maximize your streaming experience:
- Practice Your Workflow: Familiarize yourself with the software’s interface and features to streamline your workflow.
- Use Templates: Obs Studio OKB S offers various templates that you can use to quickly set up your scenes and layouts.
- Customize Your Hotkeys: Customize your hotkeys to perform actions quickly and efficiently during your stream.
- Monitor Your Audio: Keep an eye on your audio levels and adjust them as needed to ensure a clear and professional sound.
- Engage with Your Audience: Interact with your audience through chat, polls, and other features to make your stream more engaging.
By following these tips, you can create a high-quality and engaging stream that will keep your audience coming back for more.
Conclusion
Obs Studio OKB S is a powerful and versatile tool that can help you create high-quality streams and content. With its wide range of features and user-friendly interface, it’s no wonder why it


