
Homemade AR Glasses: A Comprehensive Guide
Have you ever wondered about creating your own augmented reality (AR) glasses? Well, you’re in luck! In this article, we’ll delve into the world of homemade AR glasses, exploring the materials, tools, and techniques needed to build your very own pair. Whether you’re a tech enthusiast or a hobbyist, this guide will help you embark on an exciting journey of innovation and creativity.
Understanding AR Glasses

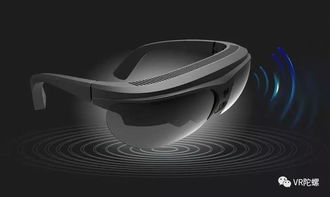
Before diving into the construction process, let’s first understand what AR glasses are. AR glasses are wearable devices that overlay digital information onto the real world. They use a combination of cameras, displays, and sensors to provide an immersive experience. Unlike virtual reality (VR) headsets, AR glasses allow users to interact with the real world while still experiencing the digital overlay.
AR glasses have various applications, including gaming, navigation, education, and entertainment. With the increasing popularity of AR technology, many people are interested in building their own AR glasses to explore this exciting field.
Materials and Tools
Building homemade AR glasses requires a variety of materials and tools. Here’s a list of essential items you’ll need:
| Material/Tool | Description |
|---|---|
| Smartphone | A smartphone with a high-quality camera and a display that can be used as a virtual display for the AR glasses. |
| 3D Printer | A 3D printer to create custom frames and components for the AR glasses. |
| Microscope | A microscope to inspect and assemble small components. |
| Adhesives | Adhesives such as epoxy or super glue to bond components together. |
| Wire and Connectors | Wire and connectors to connect the smartphone to the AR glasses. |
| Plastic Sheets | Plastic sheets to create lenses and protective covers for the AR glasses. |
| Screws and Nuts | Screws and nuts for assembling the AR glasses. |
Designing the Frames
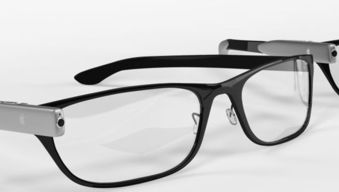
The frames of your homemade AR glasses are crucial for comfort and usability. Here’s a step-by-step guide to designing and printing the frames:
- Choose a 3D modeling software, such as Tinkercad or Fusion 360.
- Design the frames based on your head size and desired comfort level. Ensure that the frames have enough space for your eyes and that they fit comfortably around your head.
- Export the design as an STL file and import it into your 3D printer.
- Print the frames using a suitable material, such as ABS or PLA.
- Remove any supports or excess material from the printed frames.
Assembling the Components
Once you have the frames, it’s time to assemble the components. Here’s a step-by-step guide to assembling the AR glasses:
- Attach the smartphone to the frames using a suitable mount. Ensure that the camera and display are aligned with the lenses.
- Install the lenses into the frames. You can create custom lenses using plastic sheets and a laser cutter or by purchasing pre-made lenses.
- Connect the smartphone to the AR glasses using wires and connectors. Ensure that the connections are secure and that the power and data cables are properly routed.
- Attach any additional components, such as a battery pack or sensors, as needed.
- Test the AR glasses to ensure that they are functioning correctly and that the display is clear and sharp.
Customizing Your AR Glasses
Once you have the basic AR glasses assembled, you can customize them to suit your preferences. Here are some ideas:
- Paint or decorate the frames to match your style.
- Attach additional sensors or modules to expand the functionality of your AR glasses.
- Experiment with


